-
Login in to Plesk as the admin user
-
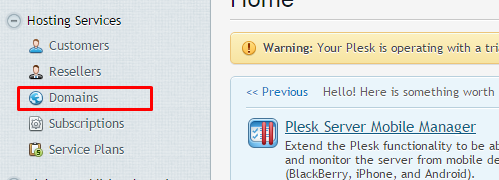
Under Hosting Services click on Domains for which you want to create the password protected directory.
-
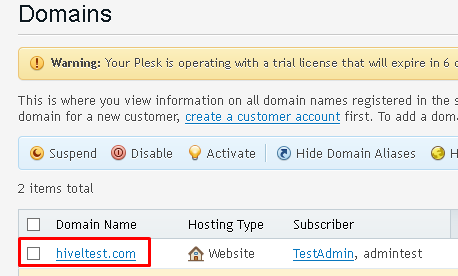
On the right hand you will see the list of the domains that are hosted on the server. Click on the domain for which you want to create the password protected directory.
-
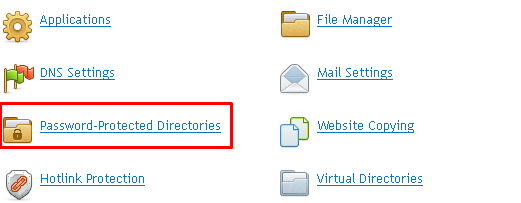
Now you will see all the control options for that particular domain. Click on Password Protected Directories
-
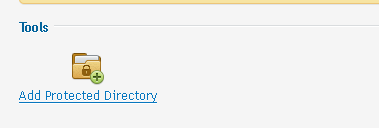
Click on Add Protected Directory.
-
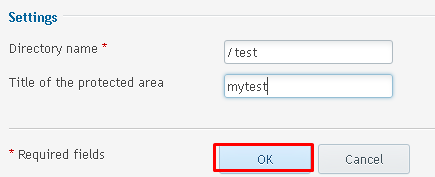
On the next screen type in the Directory Name & Title of the Protected area and then click OK.
-
You are done with creating the password protected directory.

How to create Password Protected Directories in Plesk 12
Need More Personalized Help?
If you have any further issues, questions, or would like some assistance checking on this or anything else, please reach out to us from your my.hivelocity.net account and provide your server credentials within the encrypted field for the best possible security and support.
If you are unable to reach your my.hivelocity.net account or if you are on the go, please reach out from your valid my.hivelocity.net account email to us here at: support@hivelocity.net. We are also available to you through our phone and live chat system 24/7/365.