1. Navigate to your tenant portal
Click on Virtual Machines on the Left
2. Click “NEW VM”
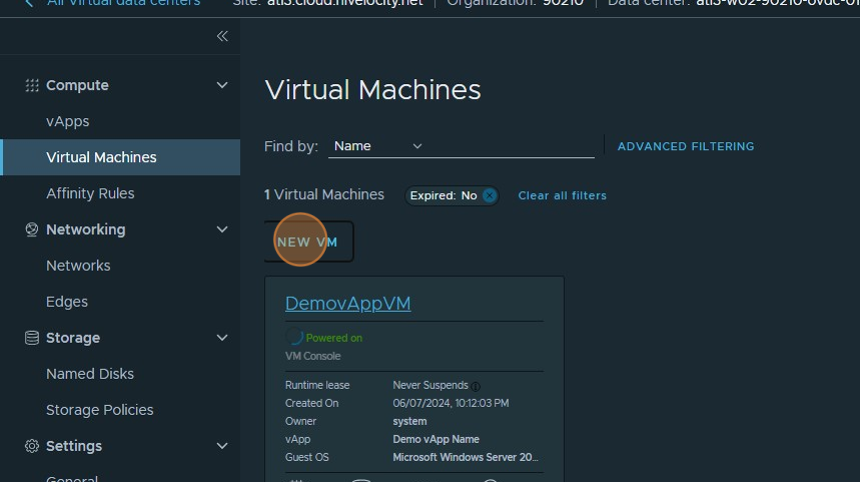
3. Enter a Name for the VM
Enter a Computer Name if Different, must be all one word.
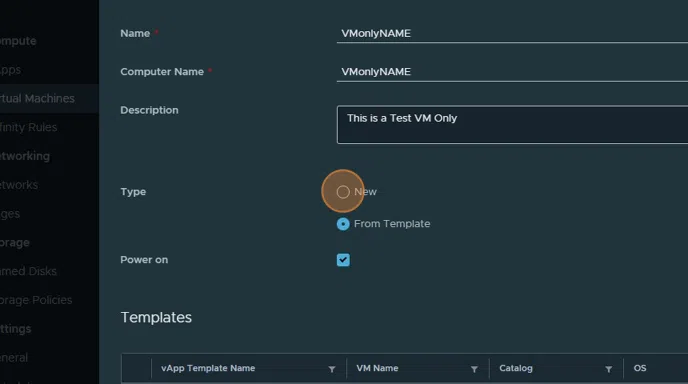
Click the “Description” field and enter Description
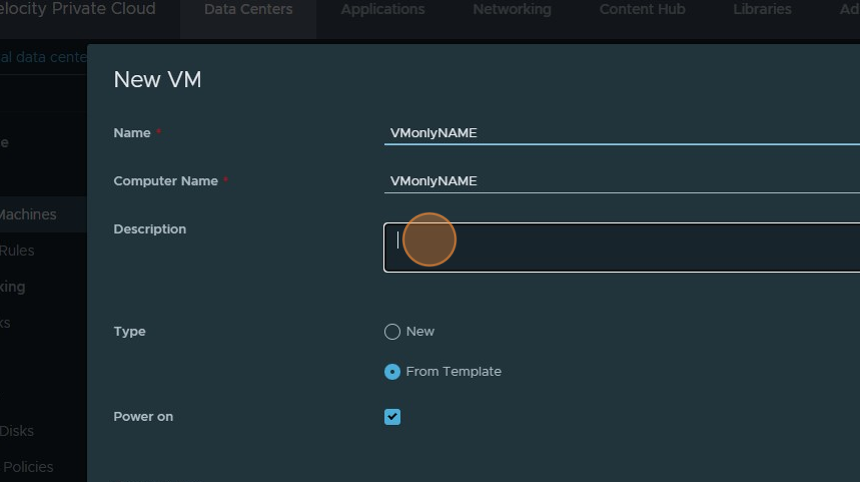
4. Choose Type, either New for a new VM, or From Template to select Template VM
Click “From Template”
5. Click this dropdown to choose Guest OS family
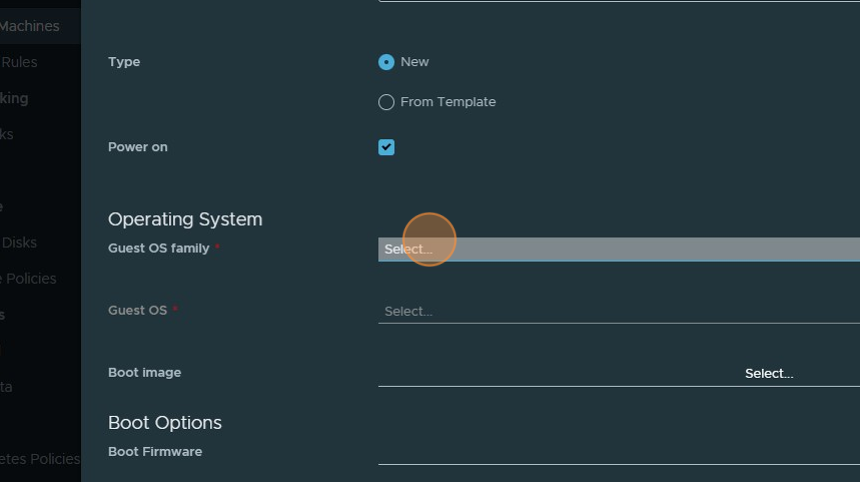
6. Click this dropdown to Select Guest OS
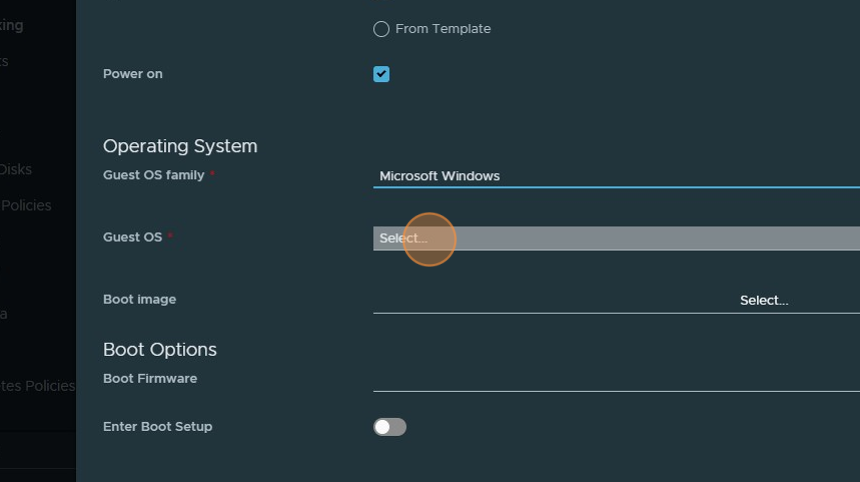
7. Click “Select…” next to boot image to select the ISO to boot from.

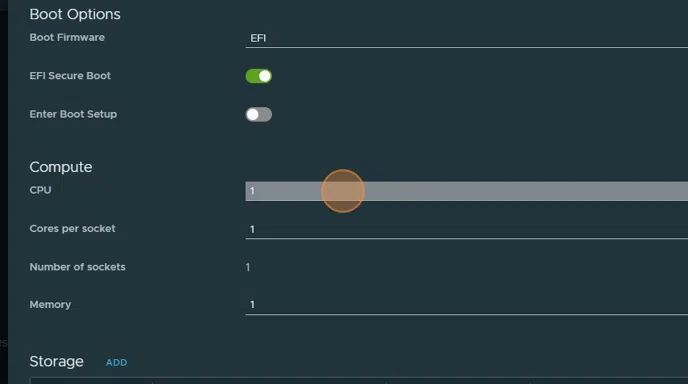
8. Click this dropdown and select how many:
CPU:
Cores Per Socket:
Memory in GB:
9. Double-click this dropdown for Storage Policy. Depending on what storage levels you purchased you may have multiple options.

Tip: Tip! You can also add additional Storage Drives by clicking the ADD button Next to Storage.
10. Click Size, enter amount of storage for disk, you can choose MB, GB or TB.

11. Click “CUSTOMIZE” for the Network Settings

12. Click this dropdown for Networks. You can choose any available network in that VDC.

13. Click this dropdown for IP Mode. You can choose Static – IP Pool, Static – Manual, or DHCP if its available. If Static-Manual is selected, you will have to enter IP Address in next field.

14. Click “OK”
