Congratulations on acquiring a Virtual Private Server from Hivelocity! We’re excited to have you onboard and cannot wait to provide you with excellent service around the clock. Your VPS can be managed through the myVelocity customer portal which will allow you to take control of your VPS. The features involved with VPS management include the ability to control the power status of your device, reloading your VPS with a new OS, and viewing and modifying many various management aspects.
Finding Your VPS in myVelocity
To find your VPS, proceed with the following steps.
- First, head over to Hivelocity.net and log in to myVelocity.
- Once you’ve gone through the login process. The screen below will appear, listing all of your current devices.

- You can note which device is VPS and which is a dedicated server by looking at the Type column as needed.
- You can note which device is VPS and which is a dedicated server by looking at the Type column as needed.
- Press on the device ID you wish to view. For this example, we will select device 31498 from the list above.
Device Details Page
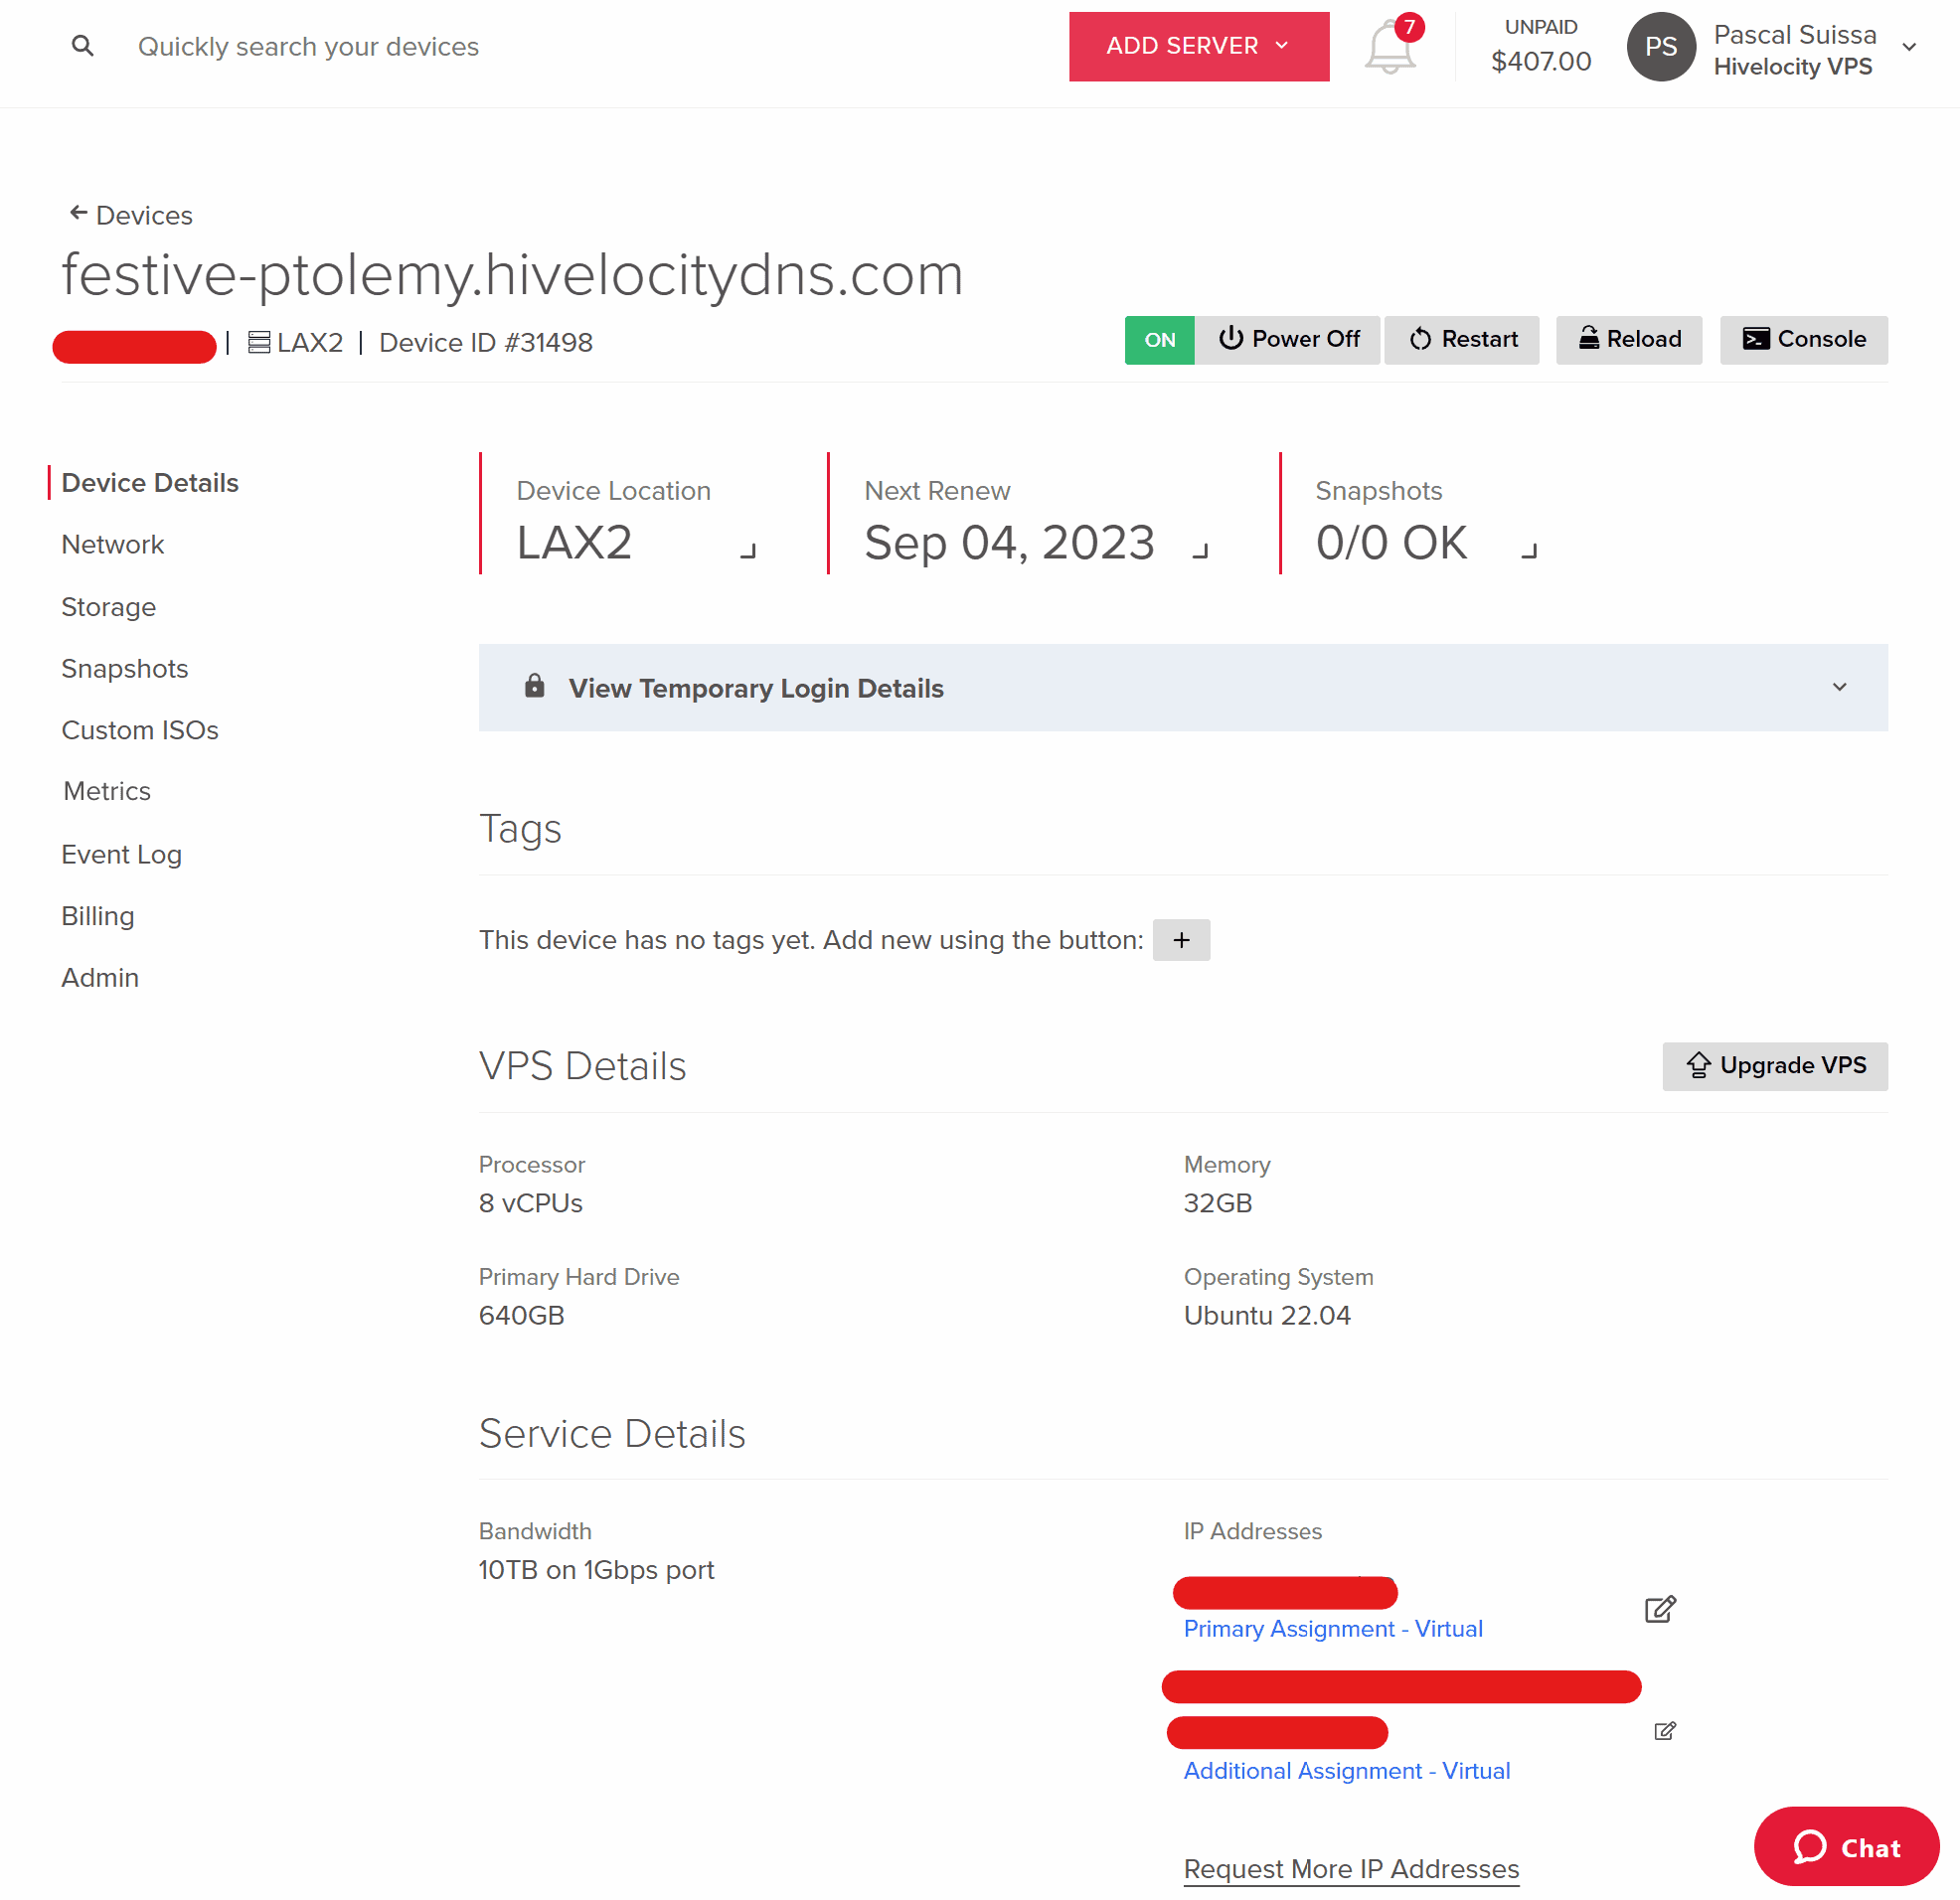
Once you’ve selected your VPS of choice, you will arrive at the Device Details page. This page contains vital information regarding your VPS.
This page contains the following important information:
- Your public IP, including your IPv6 IP, if applicable.
- Your VPS’s hardware details.
- The ability to restart, power off or on, reload the VPS with a new OS, and use a virtual console to control it via the browser.
- Your temporary password and username available in the first few days after you purchase a VPS.
Network Page
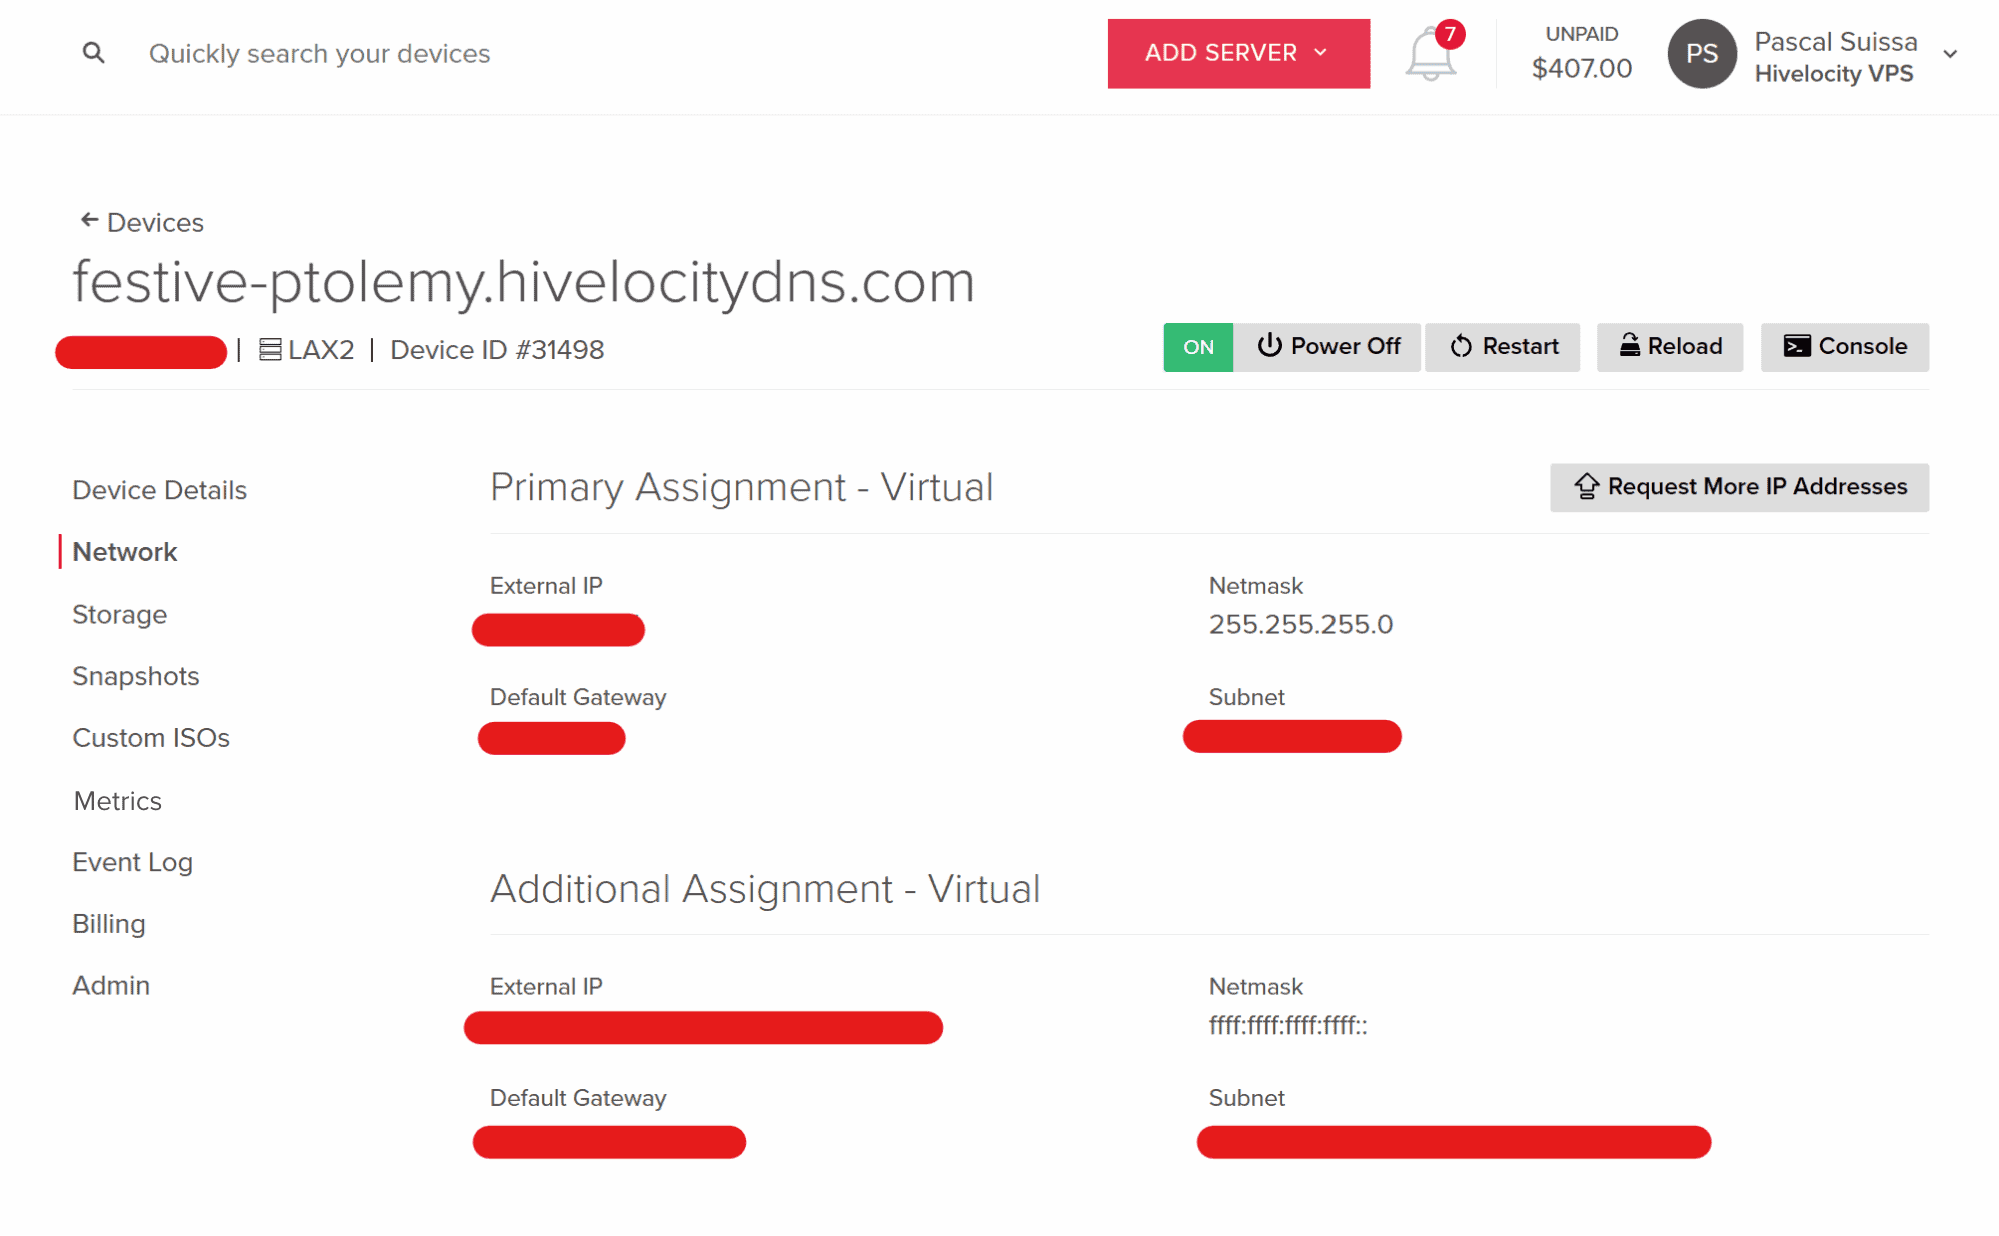
The Network Page of your VPS includes critical information regarding your Primary assignment and any additional IP assignments such as IPv6.
The information on this page includes the following items:
- External IP
- Default Gateway
- Netmask
- Subnet
Storage Page
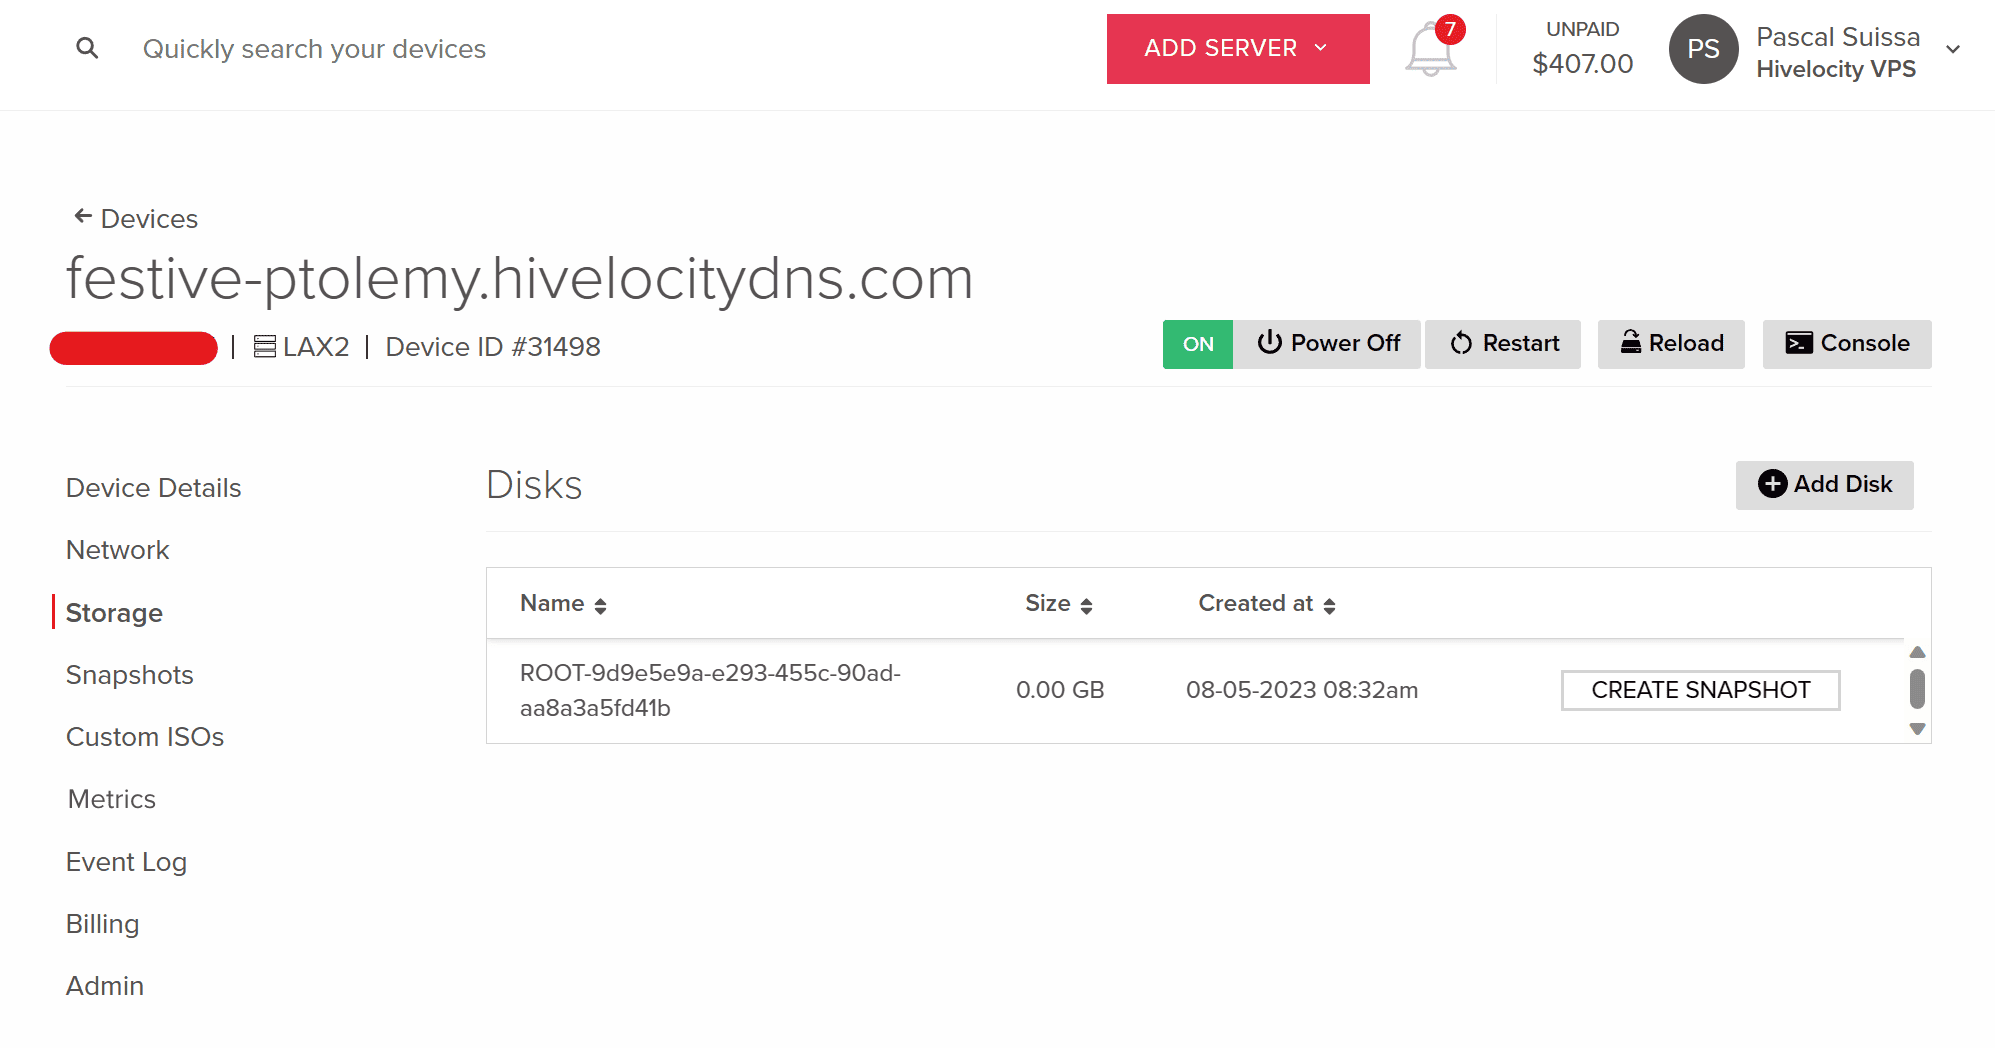
The Storage Page of your VPS contains information involving the disk space you’ve purchased and assigned to your system. The information on this page includes the following items:
- The disk size being occupied.
- The time of disk creation.
- The ability to add a disk or more as needed.
- The ability to create a snapshot of a specific disk.
Snapshots Page
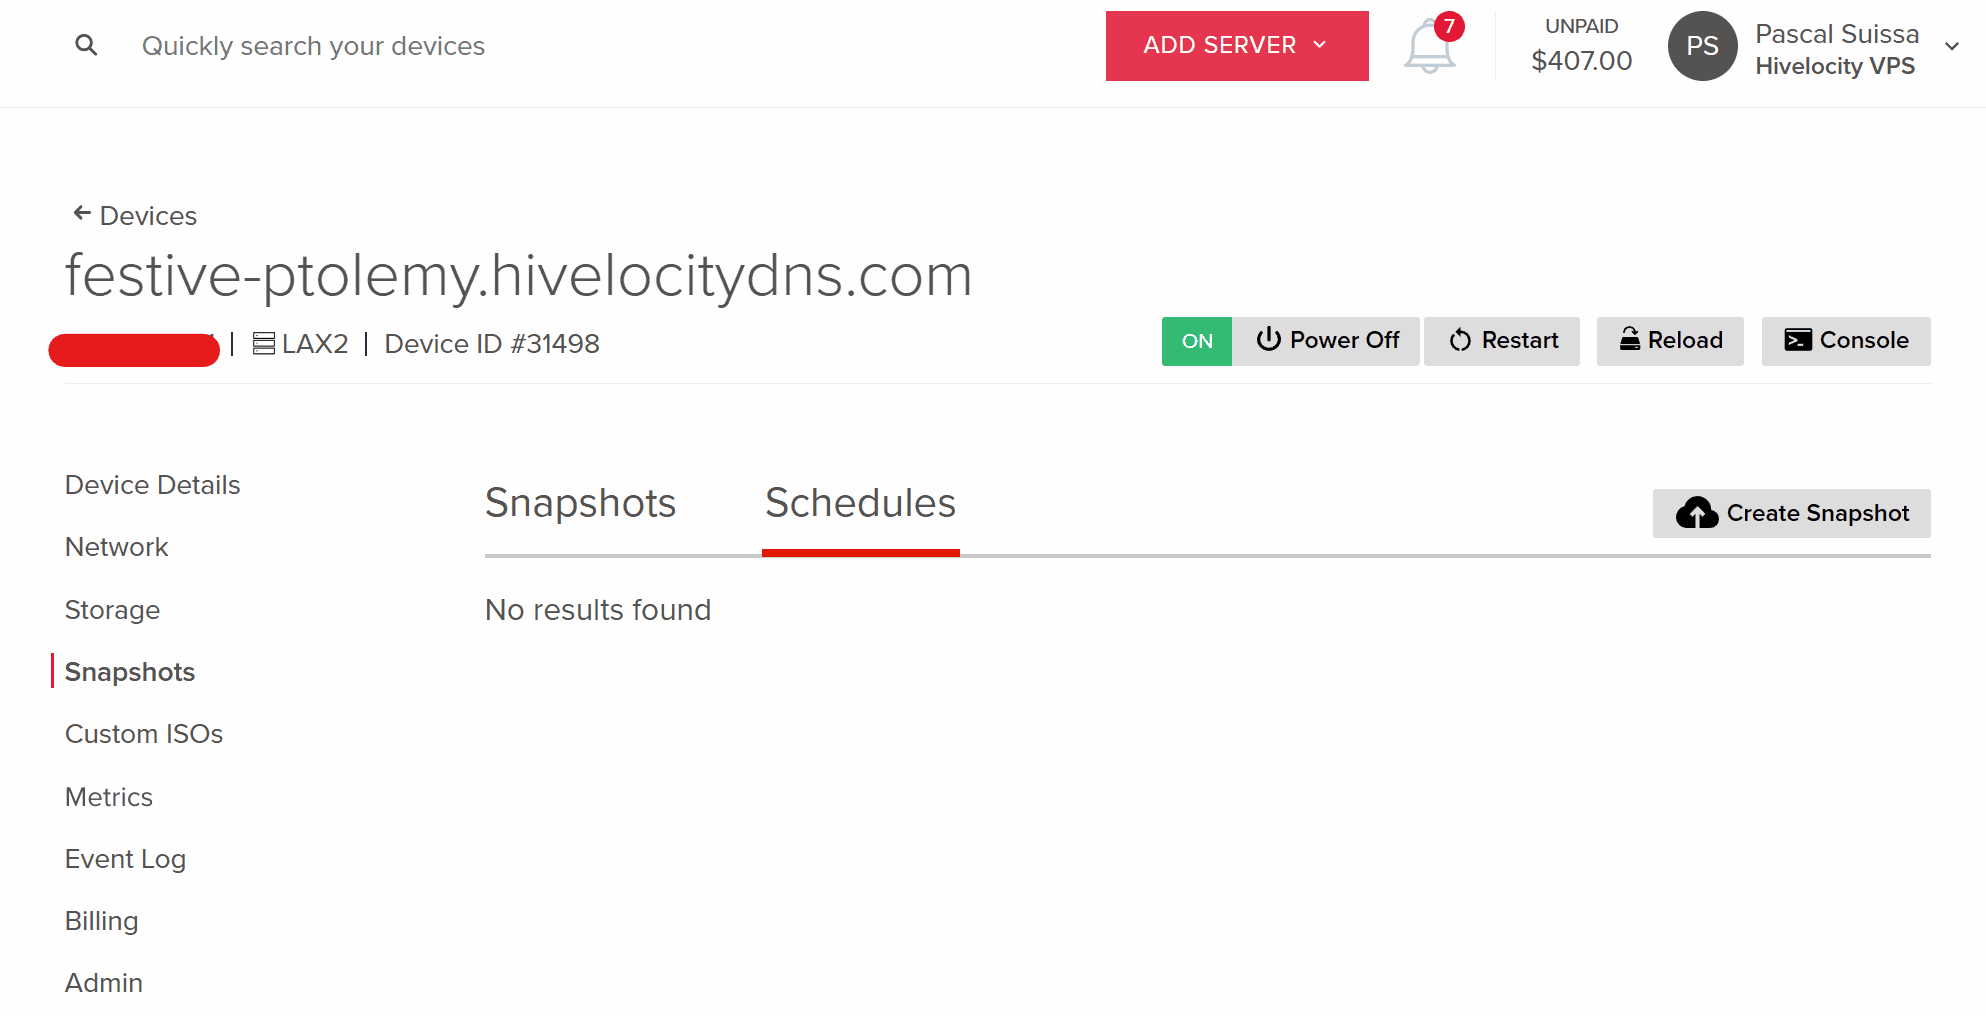
The Snapshots Page of your VPS includes all existing snapshots and any existing schedules along with the ability to create snapshots as needed.
Custom ISOs Page
The Custom ISOs Page of your VPS allows you to upload and use ISOs as needed so that you can mount them and use them as required.
Metrics Page
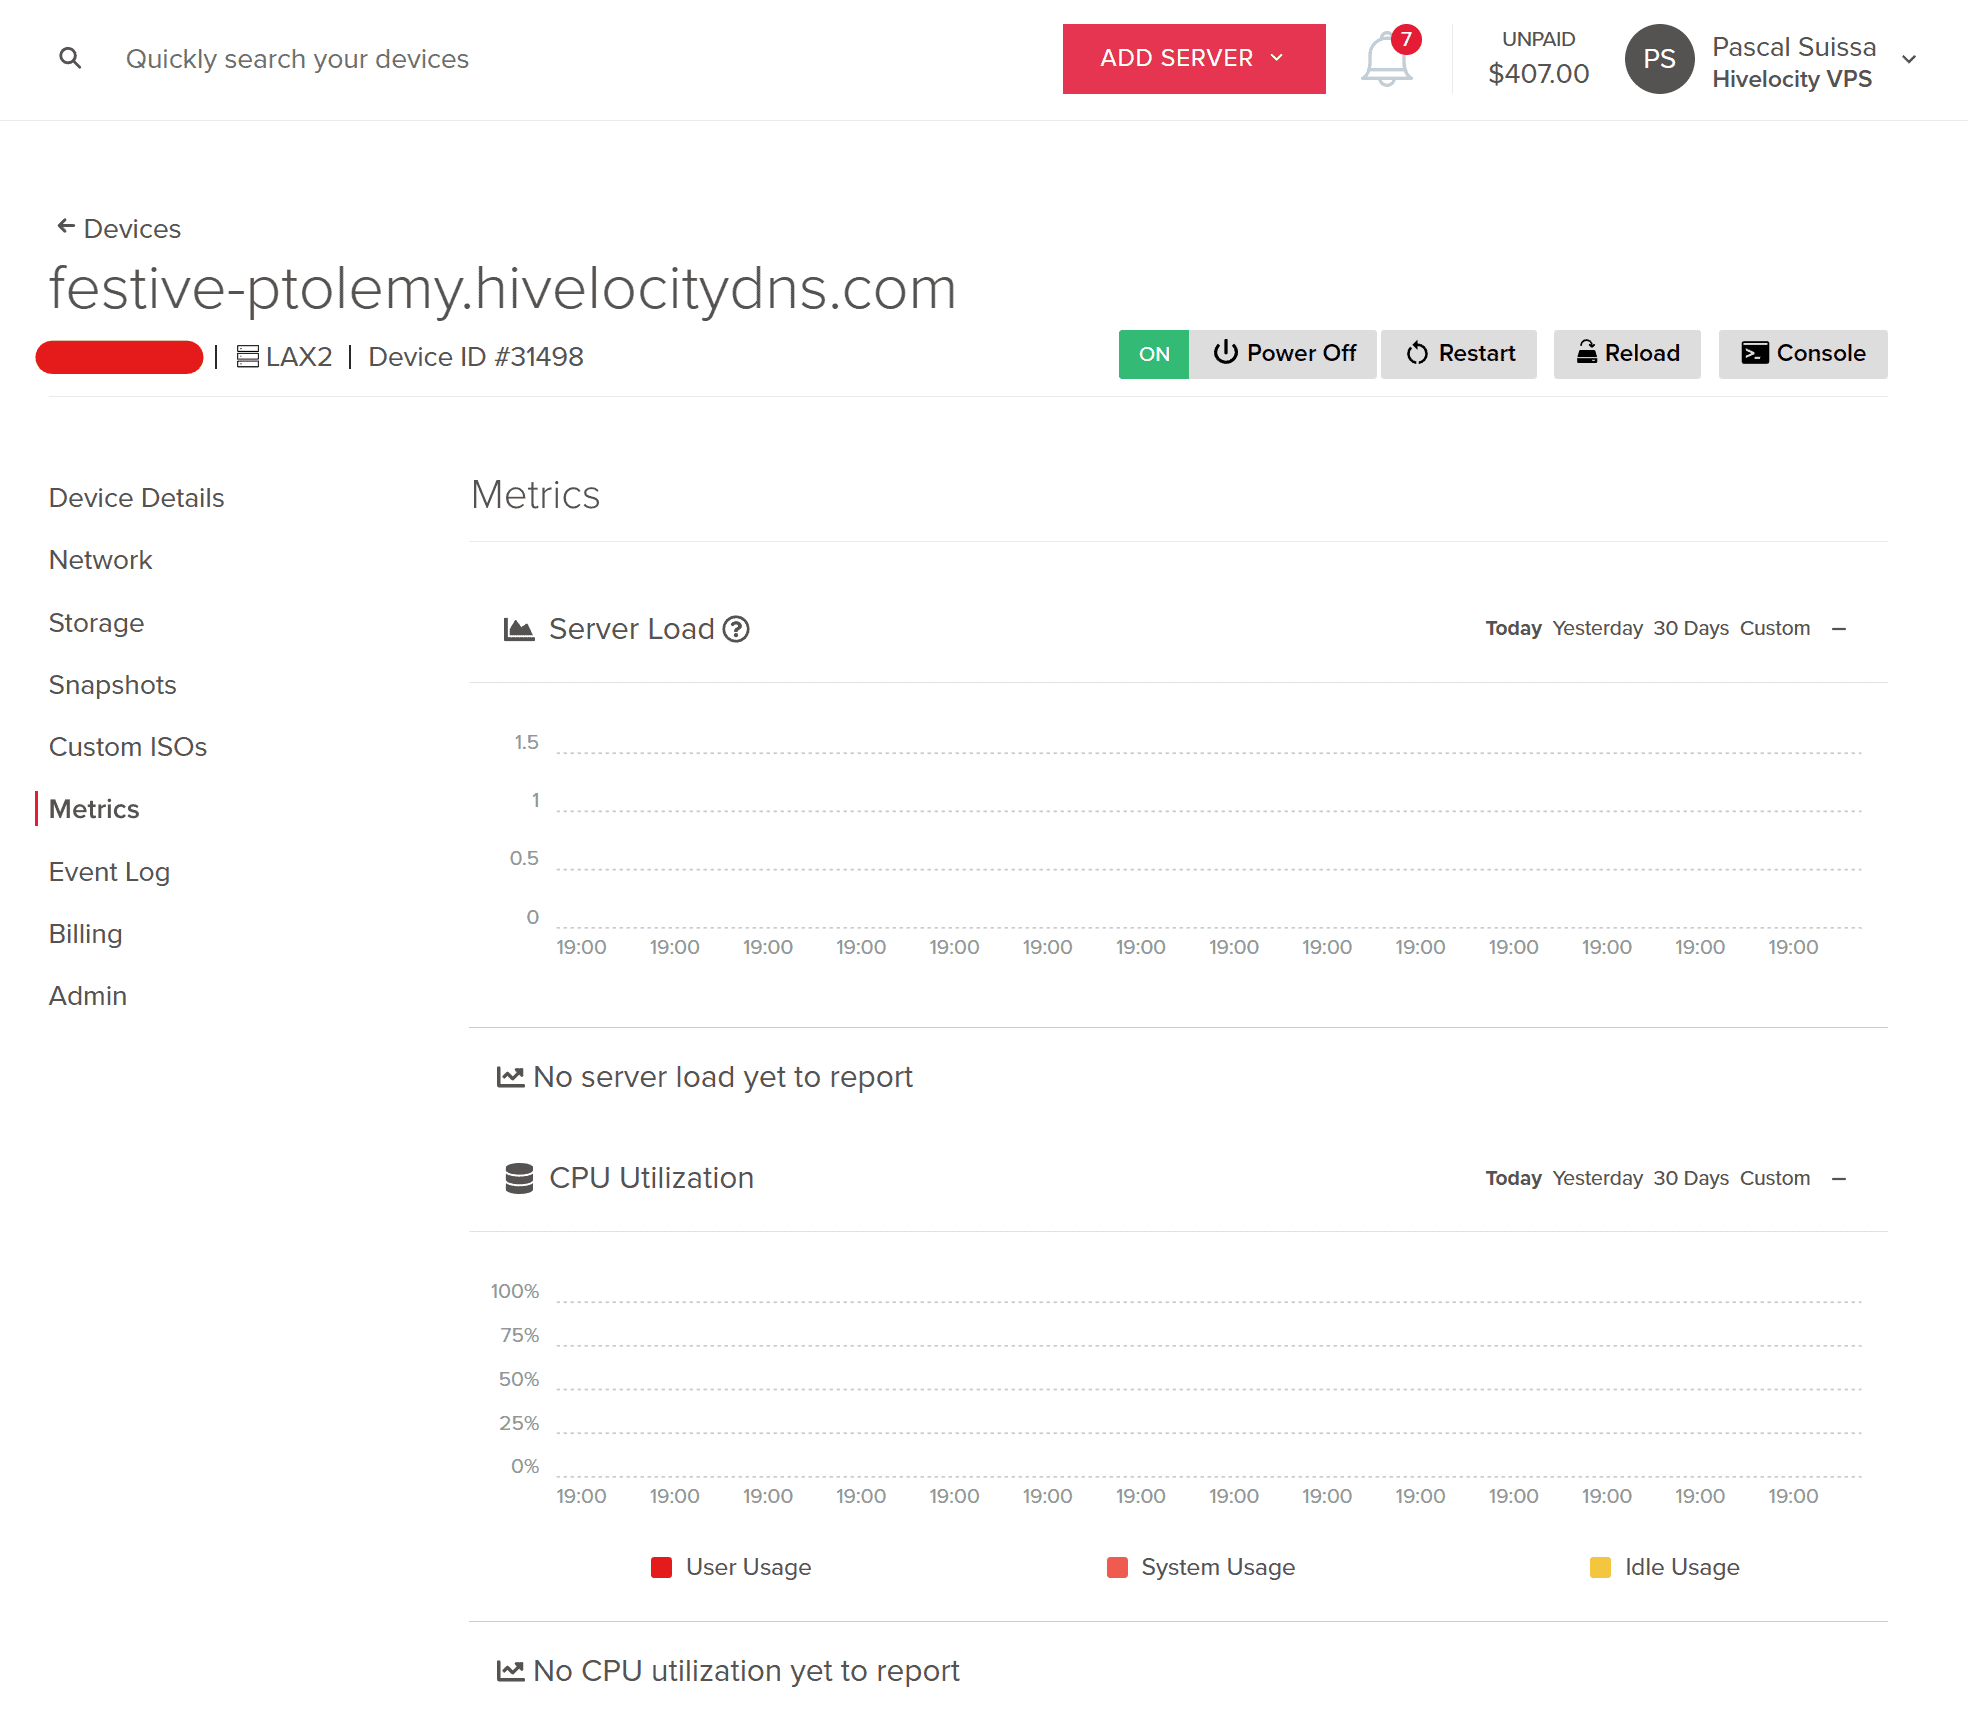
The Metrics Page of your VPS includes information involving server load, CPU, memory, and disk utilization in various time ranges for you to evaluate and review your VPS usage.
Event Log Page
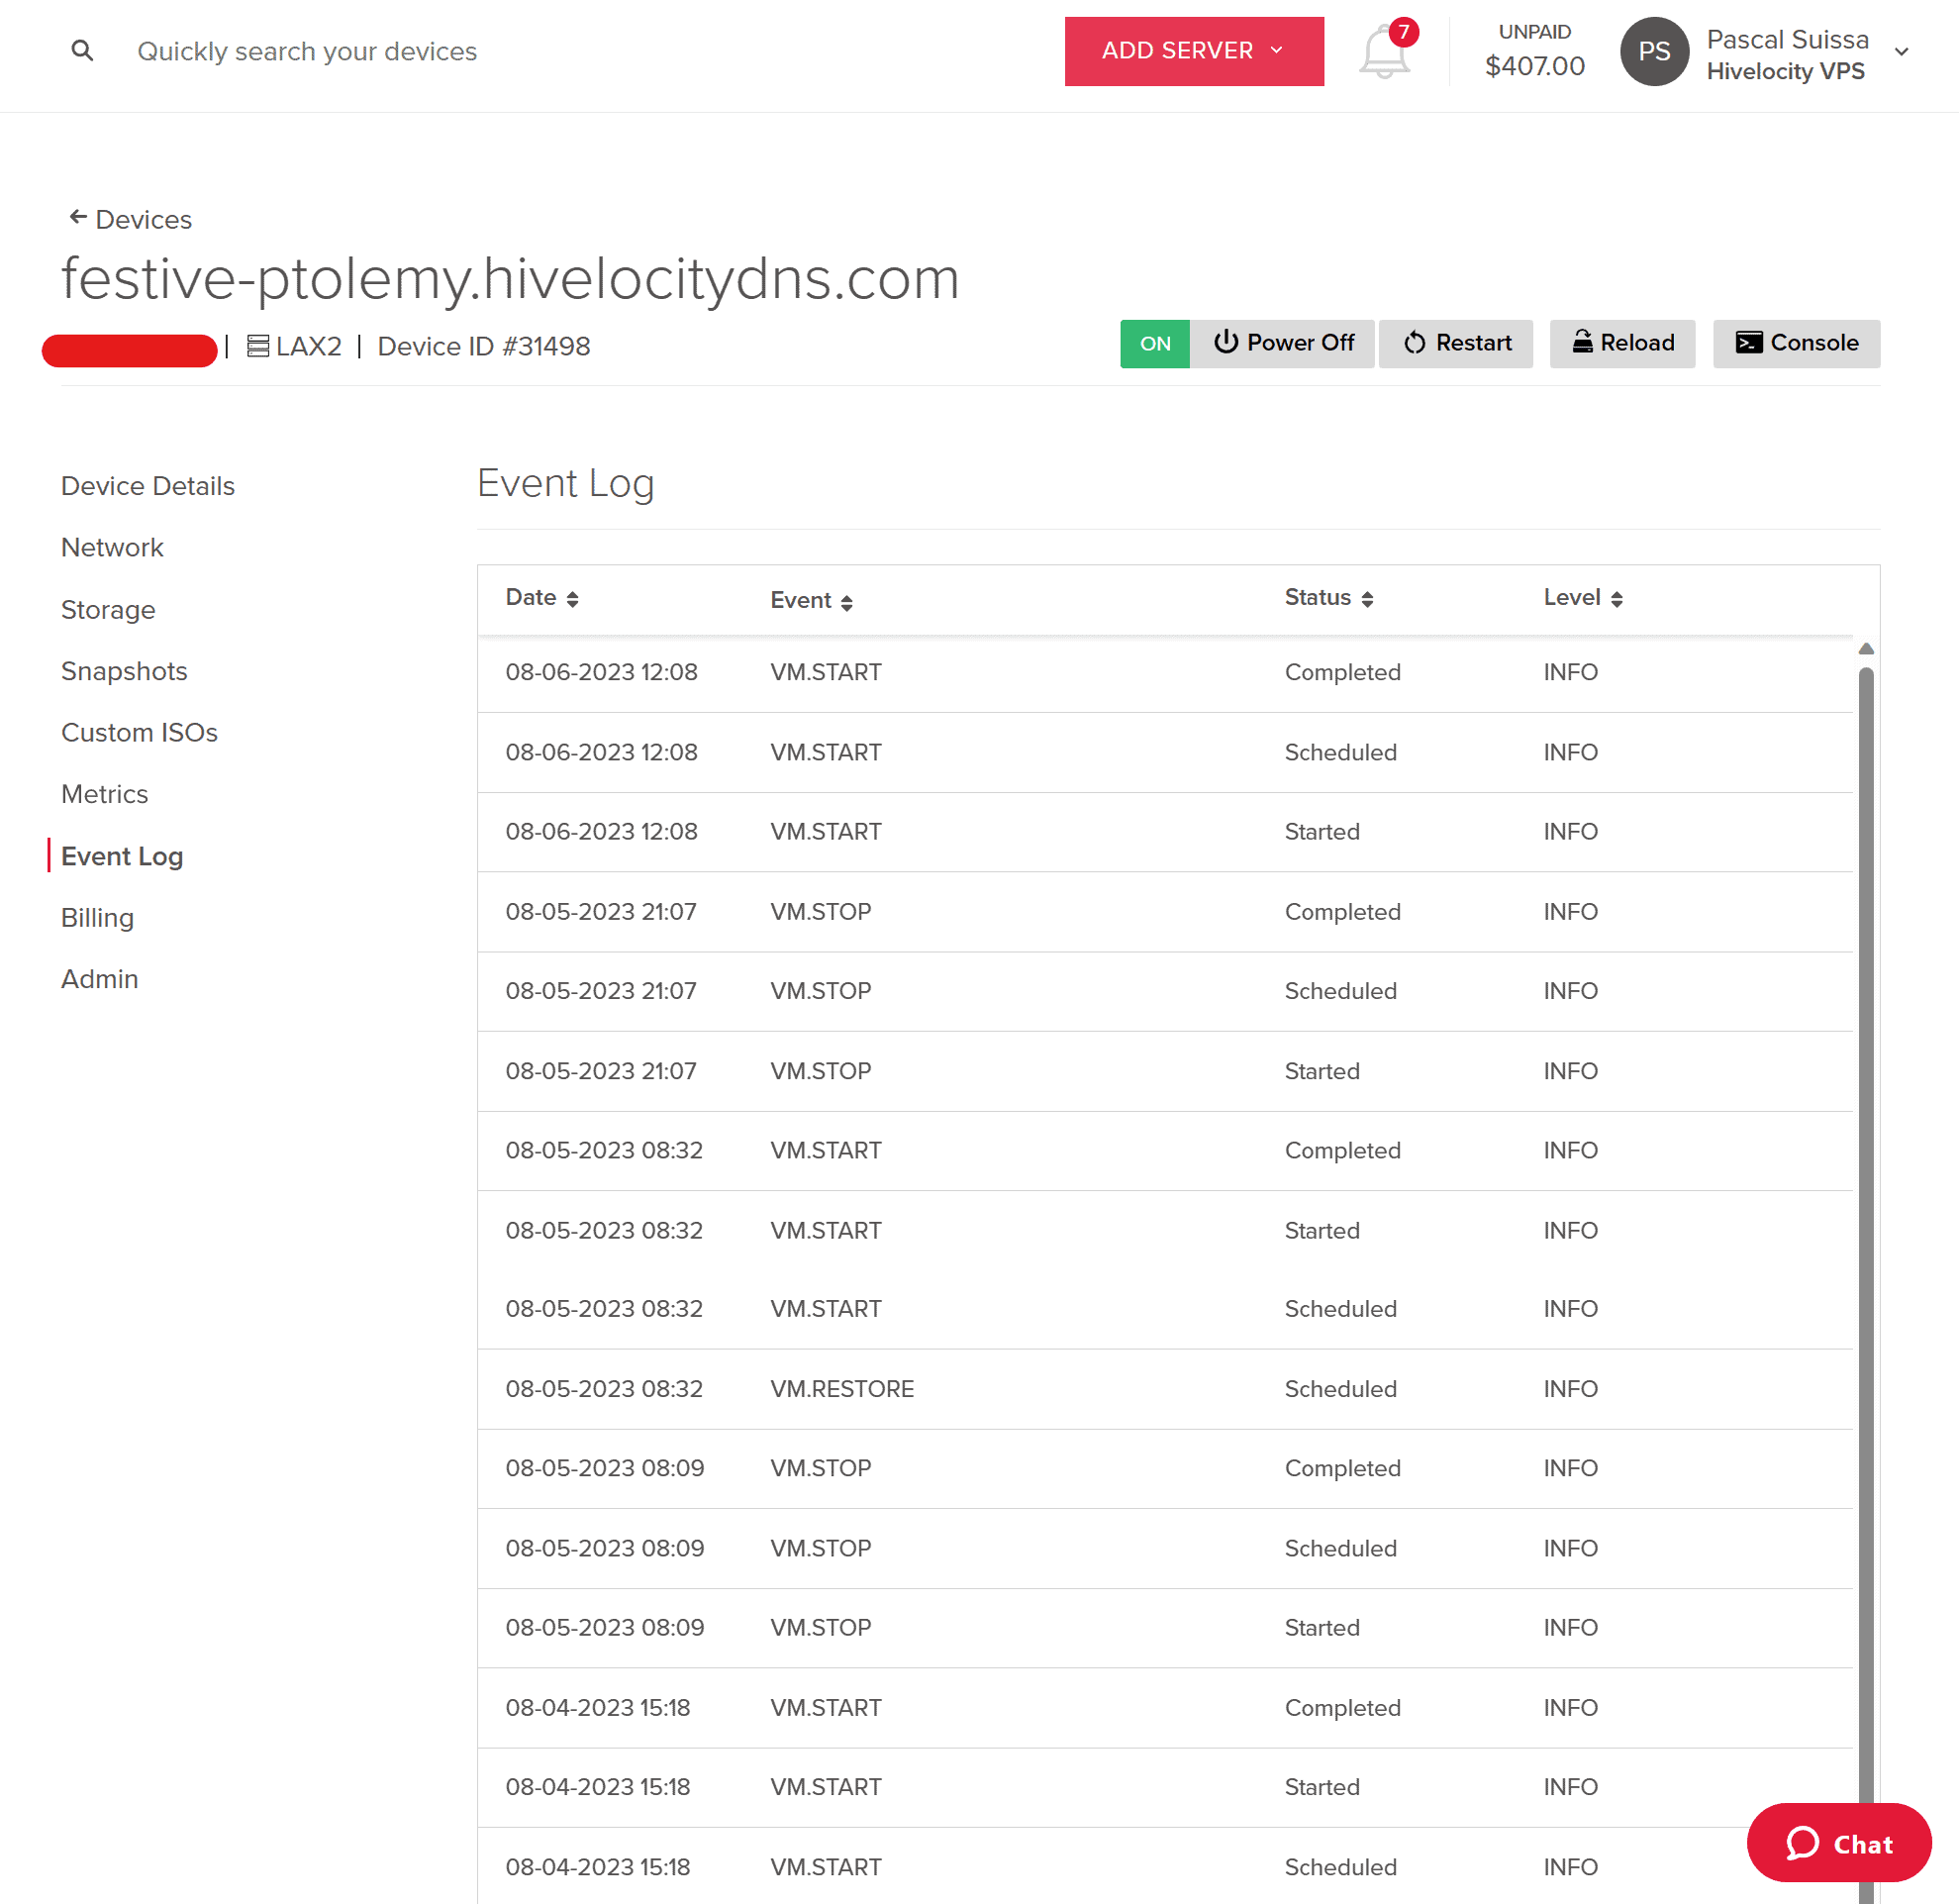
The Event Log Page of your VPS allows you to review any events that involve your VPS. VPS events include stopping and starting your VPS, along with other activities.
This type of information will allow you to determine whether any actions were taken on your VPS by you or your team members and to review the date and time when actions occurred in case troubleshooting is required.
Billing Page
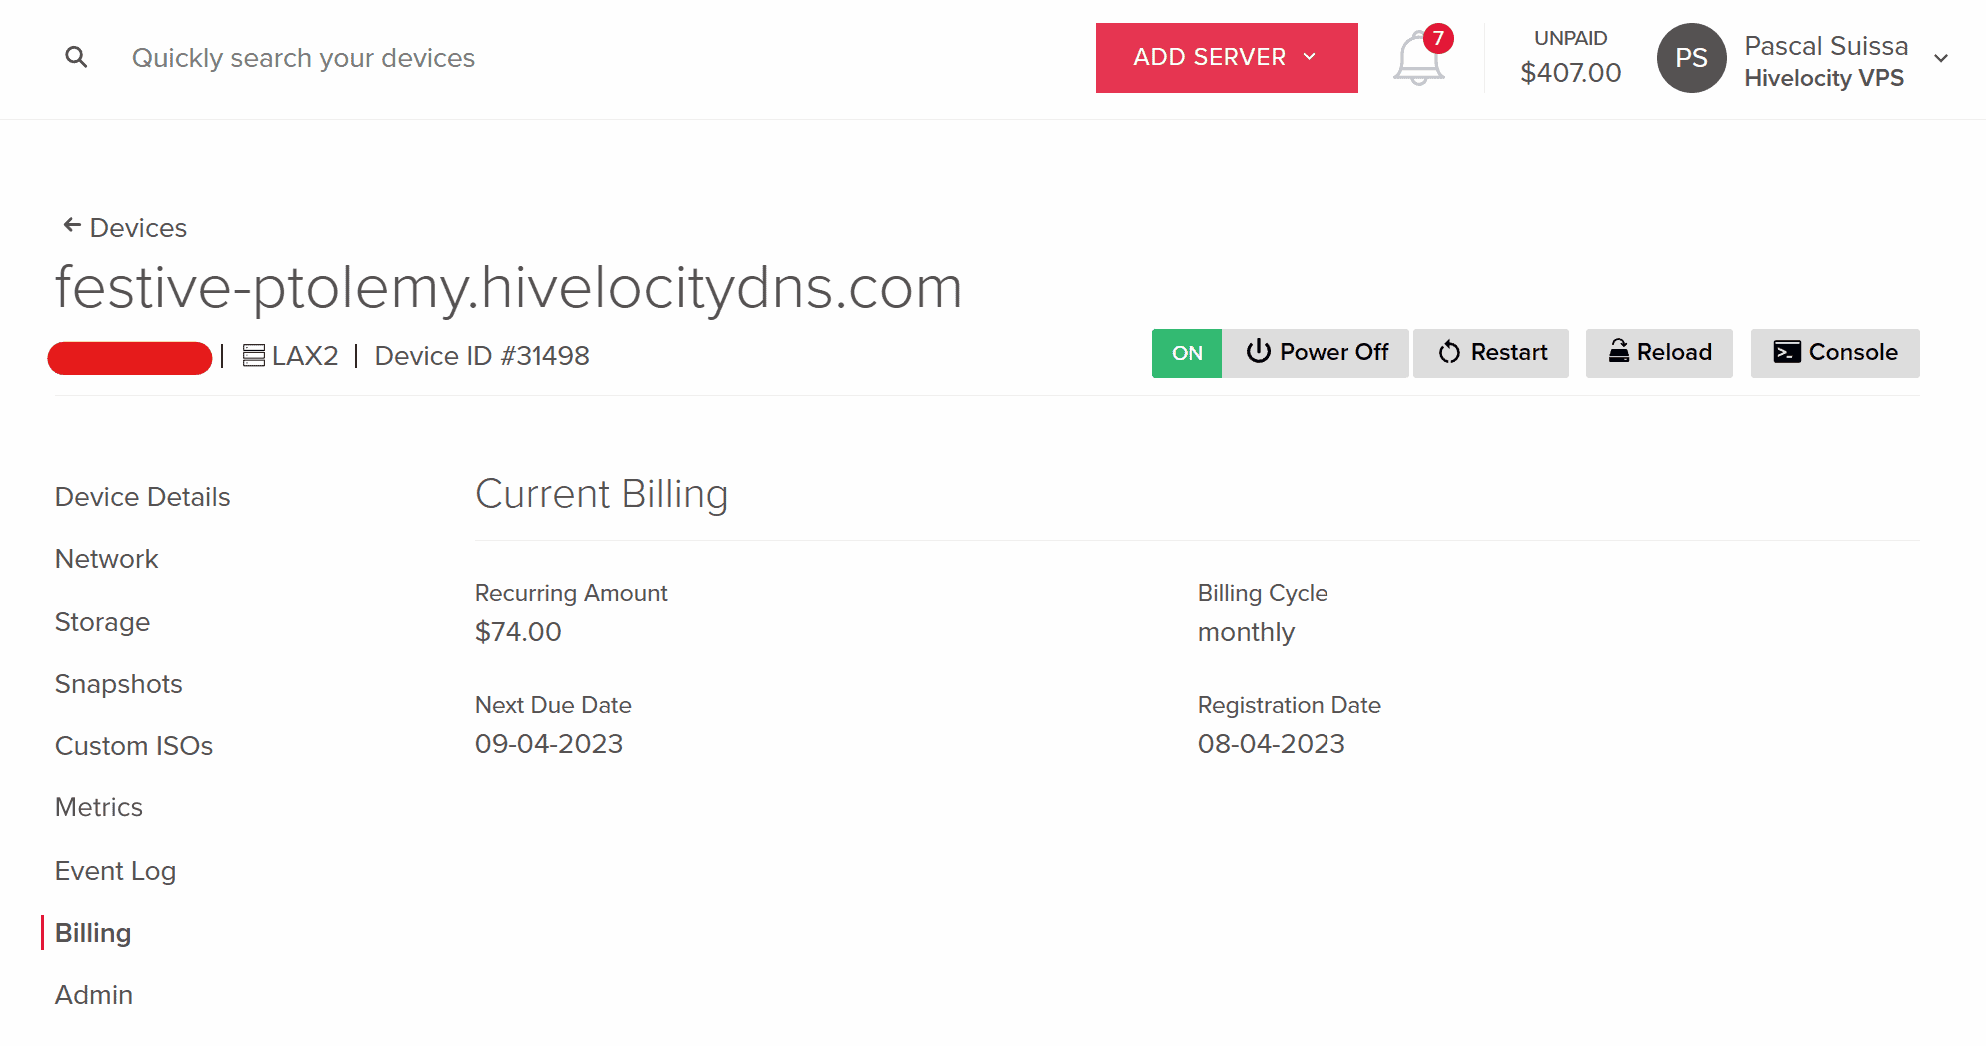
The Billing Page of your VPS includes information relating to any payments and dates that are involved with your VPS.
Information that can be found on the page includes:
- Your recurring billing amount.
- Your next due date.
- Your billing cycle.
- Your registration date.
For any concerns or questions with your billing cycle, please reach out to our Billing department during working hours for resolution.
Admin Page
The Admin Page of your VPS includes the option to set a hostname for your device, create a custom device name for device recognition, and the option to cancel your device and halt services.

– by Pascal Suissa