The root user is the superuser or administrator of your Linux operating system which has full access to all files, commands, and resources on the system, and can perform any operation without restriction. The root password for the root user should be kept secret and secure, as anyone who knows it can gain complete control over the system. It is also crucial to change the password periodically to prevent unauthorized access.
To change the root password of your VPS, follow the steps below for the full VPS password change guide.
Changing the VPS Root Password
To change the root password of your VPS, proceed with the following steps.
- Head over to Hivelocity.net and login to the customer portal.
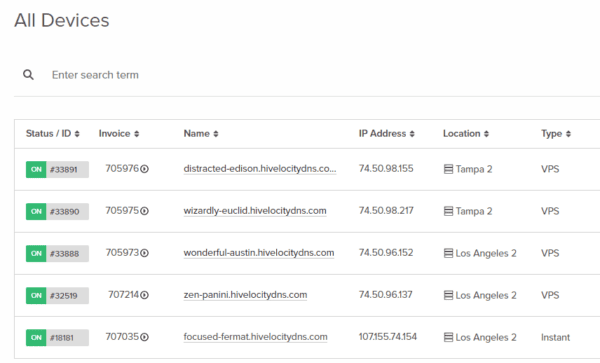
- Once you’ve gone through the login process. The screen below will appear, listing all of your current devices.
- You can note which device is VPS and which is a dedicated server by looking at the “Type” column as needed.

VPS Device List
- You can note which device is VPS and which is a dedicated server by looking at the “Type” column as needed.
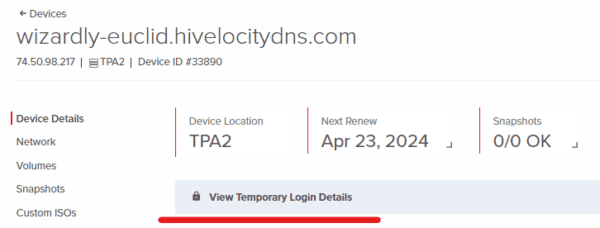
- Press on the device of interest that you wish to change the VPS password for. For this example, we will select device 33890 from the list.
- Power off the VPS by pressing the “Power Off” button.

Powering off the VPS for the VPS Password Change - Press on the “Admin” tab.
- Press on the “Reset Password” button under the “Password Reset” section at the bottom of the page.

Reset Password Button as Part of the VPS Password Reset Process - Once step 6 is performed, a notification will appear on the screen to inform you that an email has been sent with a link to confirm the password change.
- Check your inbox for the email and proceed to press on the link accordingly. This step will reset your password which will appear in the main device page about 5-10 minutes later.

New VPS Password Following the VPS Password Change Process -
Proceed to power on your VPS and test the new password you’ve been provided.
-Written by Pascal Suissa