Follow the steps below to install Litespeed as a cPanel Plugin. This will help you install, configure and manage LiteSpeed from the WHM itself.
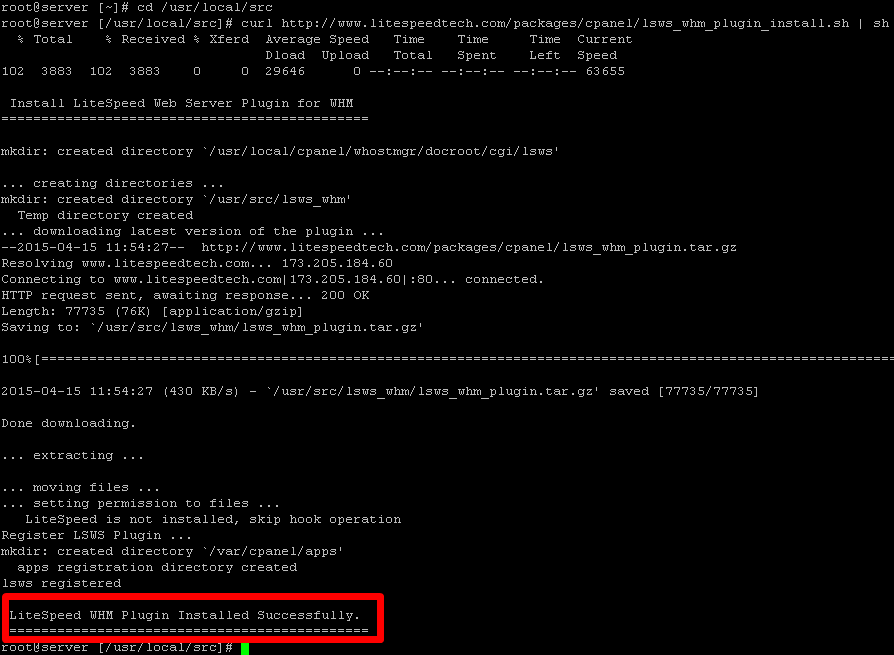
1) Login to your cPanel server as the root user and then use the commands below to download the plugin.
# cd /usr/local/src
# curl https://www.litespeedtech.com/packages/cpanel/lsws_whm_plugin_install.sh | sh

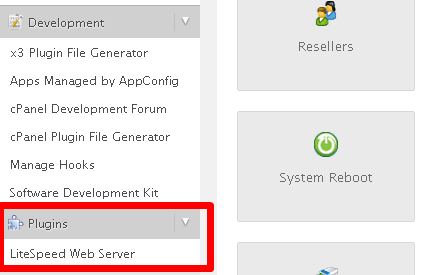
2) Log-in to WHM & you should see “Litespeed Web Server” menu under “Plugins” menu.

-
Click ‘Install LiteSpeed’ and let it run through the installation procedure, which is completely automated.

-
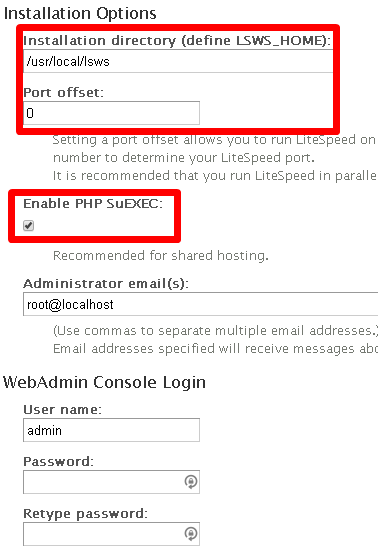
Upload the trial license key file which would be in a ‘.zip’ format. (You need to purchase license for 15 days trial period or go for an Enterprise version) Give the LiteSpeed target installation directory (IE: /usr/local/lsws)
-
Set Port Offset ( set to 0 to replace Apache otherwise set a number like “2000” to try LiteSpeed on port 2080. Setting a port makes the server to run Apache and Litespeed in parallel. )
-
Enable PHP SuEXEC
-
Choose admin username & password and start installing.
-
Litespeed should now be installed on your server. Now click on “Build Matching PHP Binary” option this will take 10-20mins (Apache will stay running).
-
Click ‘Switch to LiteSpeed

-
Restart litespeed .
NOTE – Do NOT uncheck “httpd” service under WHM service manager, otherwise WHM wont restart LiteSpeed automatically when configuration has been changed
-
To integrate LiteSpeed with cPanel access admin area at https://yourserverip:7080

-
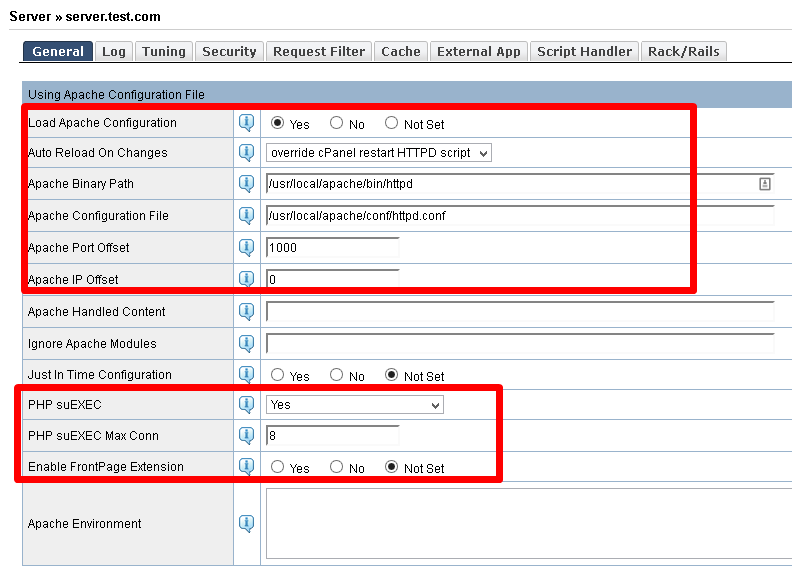
Goto Configurations >> Server >> General
-
Scroll down to “Using Apache Configuration File” click on edit and make the changes specified as in the below screenshot.

-
Now move to “Index Files” on the same screen and set it as follows , save and click on back


-
Move to htaccess on the same screen, click on edit and make the changes as specified in the below screenshot. Once done click on save and then click on Back.

-
Now move back to the configurations >> Server >> Listeners and delete all current listeners.

-
Restart the litespeed webserver with command “service lsws restart” from SSH