*Update 10/2021: Please note, this is an EOL product no longer being offered to new customers.
How to mount Cloud Storage using sshmount on Ubuntu.
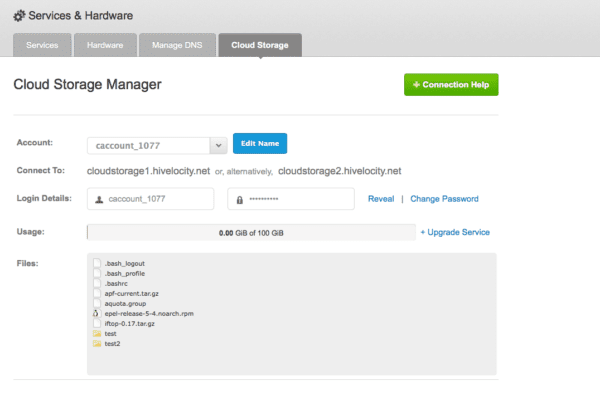
First login to https://my.hivelocity.net go to Services & Hardware, next click the Cloud Storage button at the top. Once you are in the Cloud Storage page you will see Login Details.
You will need your Login Details to mount your Cloud Storage in Ubuntu. Keep them handy for step #8 and #10.
1. Login to your server via SSH.
2. Type in “sudo bash” and enter your password.
3. Create a folder where you would like your Cloud Storage to be mounted. This folder must be empty. For this example the folder will be /mnt/CloudStorage and we will create it by typing “mkdir /mnt/CloudStorage”
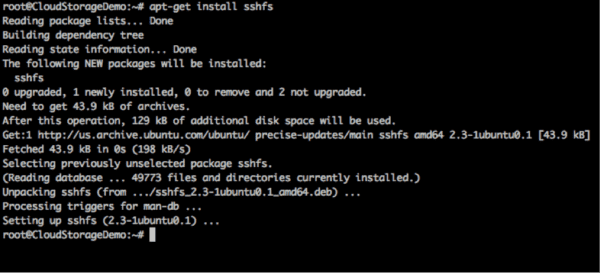
4. You need to install sshfs using apt-get with the following command.
apt-get install sshfs
5. For the next couple steps you are going to need your Cloud Storage username and password. These can be found in your MyVelocity (https://my.hivelocity.net/cloud-storage/) Be sure to have these ready.
6. Type in the following command.
sshfs -o allow_other -o kernel_cache -o auto_cache -o reconnect \
7. You will then see a > symbol. Type in the following command after the > symbol
-o compression=no -o cache_timeout=600 -o ServerAliveInterval=15 \
8. Then type this command after the next > symbol. Be sure to insert your username into the script where it says “CLOUDUSERNAME”
CLOUDUSERNAME@cloudstorage1.hivelocity.net:/ /mnt/CloudStorage
9.Type in “yes” when prompted and hit enter.
10.Type in your Cloud Storage password from MyVelocity and hit enter.
11. You should now be able to see the contents of your Cloud Storage account by typing the following.
ls /mnt/CloudStorage/
12. Tada! Your server can now access your Cloud Storage account as if it was local storage.


