a) Make sure that you have all the details of your mail servers such mail servers hostname , IPs etc..
b) Login to CPanel of your website
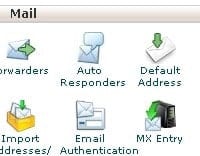
c) Now search for MX entry option under Mail menu in your CPanel and click on it
d) In the next interface scroll down. First, remove any current MX records that are in place
e) Then under the “Add New Record” section, enter 1 as the “Priority,” enter your remote mail servers hostname as the “Destination,” and then click “Add New Record.”
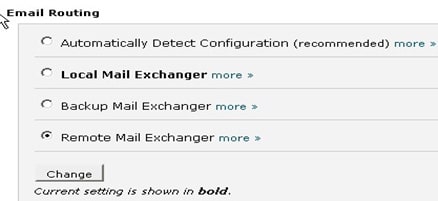
f) After you have added all of your MX records, select “Automatically Detect Configuration” under the “Email Routing” section, and then click “Change.”
g) Now you have wait for the DNS propagation for these new MX records , it may take upto 24 hrs to update the DNS


